Why this matters — a problem-first look
I travel into shops because curiosity nags: a part can look fine, yet fail during the first assembly. That gap comes from weak checks. Start by testing what breaks your schedule, your budget, or your customer’s product; otherwise you’re validating hope, not performance. For complex contours and features, I always ask whether the job requires dedicated 5 axis cnc machining services up front — the wrong process choice hides defects until assembly.
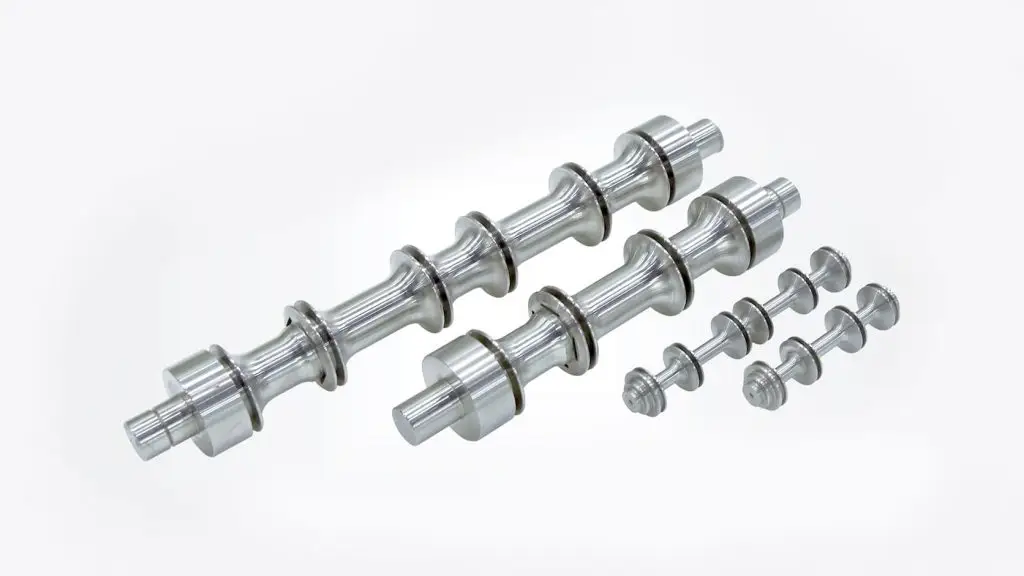
Critical dimensional checks to prioritize
Measure the few dimensions that control function, not every ornamental line. Use a coordinate measuring machine (CMM) or in-machine probing to verify critical datums, concentricity, parallelism and perpendicularity. Check true position rather than just individual X/Y/Z values when feature relationships matter. Look for runout on shafts, bore roundness, and flatness on mating faces. Capture measurement uncertainty with a reference gauge to avoid false passes.
Surface and finish tests that actually affect fit and life
Surface roughness affects sealing, friction and coating adhesion. Use a profilometer to record Ra and Rt where seals, bearings or paint must perform. Inspect tool marks at critical radii; a deep tool mark that sits at an assembly interface causes fretting and leaks. Don’t assume bead blasting or anodizing will hide poor machining—test after the primary operation where required.
Material verification and metallurgy
Confirm material with certification and spot-check with optical emission spectroscopy (OES) or handheld XRF for alloys. For hardened or heat-treated parts, check hardness across the cross-section and watch for decarburization at surfaces. If fatigue life matters, request metallurgical cross-sections or grain-size checks. Material mis-specification is a silent cause of field failures.
Process capability and repeatability
One prototype run isn’t proof of stable production. Run short capability studies (Cp/Cpk) on high-risk features over successive batches or tool life windows. Track tool wear and measure tolerances at the start, mid and end of a tool’s life. If your supplier can’t show repeatable results for critical dims, plan additional inspection or redesign to enlarge tolerances.
Functional tests and assembly checks
Test the part where it touches other parts: trial assembly, torque tests for fasteners, and press-fit force records reveal issues invisible to dimensional inspection. Simulate operating loads when possible—thermal cycling, vibration soak, or simple loading tests find failures early. A single failed assembly test beats dozens of passed isolated measurements.
Inspection methods — match method to risk
Use CMMs for positional control, optical comparators or structured-light scanners for freeform surfaces, and micrographs for metallurgical concerns. For threads and shafts use gauges and functional fixtures. Balance non-contact scanning for complex geometry with tactile probing where surface texture or feature edges matter. Every method has blind spots; document which ones you used and why.
Software and CAM validation
Probe toolpath verification and collision simulation before the first cut. Validate spline interpolation and verify tool orientation on 5-axis moves. Export a first-article G-code snapshot and run a dry cycle or machine simulation to watch for unexpected retracts or axis limits. Missing this step creates subtle, shop-specific errors that look like design faults.
Common mistakes that let defects slip through
Skipping fixture integrity checks, trusting a single FAI sample, and conflating cosmetic appearance with dimensional conformance are frequent errors. Another trap: accepting supplier inspection reports without traceable measurement data files. Also watch out for tolerance creep—designers tightening tolerances late in the process without revalidating fixturing or toolpaths.

How to build a practical QC plan
List critical-to-function features first. Assign each a test method, acceptance criteria, sampling rate and corrective action. Include who will measure, what equipment and the measurement uncertainty. Require material certificates and retain raw inspection data for at least one product cycle. Keep the plan short and enforceable; long wish lists get ignored on the shop floor.
Experience, trust and a real-world reference
Seeing 5-axis demonstrations at Hannover Messe taught me to focus on in-process probing, real tool-orientation data, and the supplier’s ability to reproduce complex toolpaths reliably. When evaluating partners, watch how they document those runs: a reputable 5 axis cnc machining supplier shows probing results, tool-life windows and sample assemblies rather than glossy photos alone. Certifications and past project write-ups matter, but verified in-process records are the clearest proof.
Alternatives and when to pick each
In-house machining gives control but requires inspection investment. Local job shops are fast and flexible but may lack 5-axis know-how. Specialized 5-axis suppliers are best for complex contours and tight positional tolerances; they usually provide stronger process validation. Choose based on which risks you must eliminate: geometry, material, or repeatability.
The final test that pulls everything together
Don’t let unchecked assumptions win. A QC plan that targets functional failure modes — assembly fit, load-bearing surfaces, sealing faces and repeatability — will catch the issues that stop products, not just the ones that fail inspection. For projects where that mapping is already done and validated, partners like Hanstar often deliver the documented checks that keep prototypes honest and assemblies reliable.